
Last updated September 10, 2026
Full 25-point door and opener safety check with every visit - springs, cables, rollers, tracks, and your LiftMaster or Chamberlain opener included
You get a price before we start. It does not change when the truck arrives.
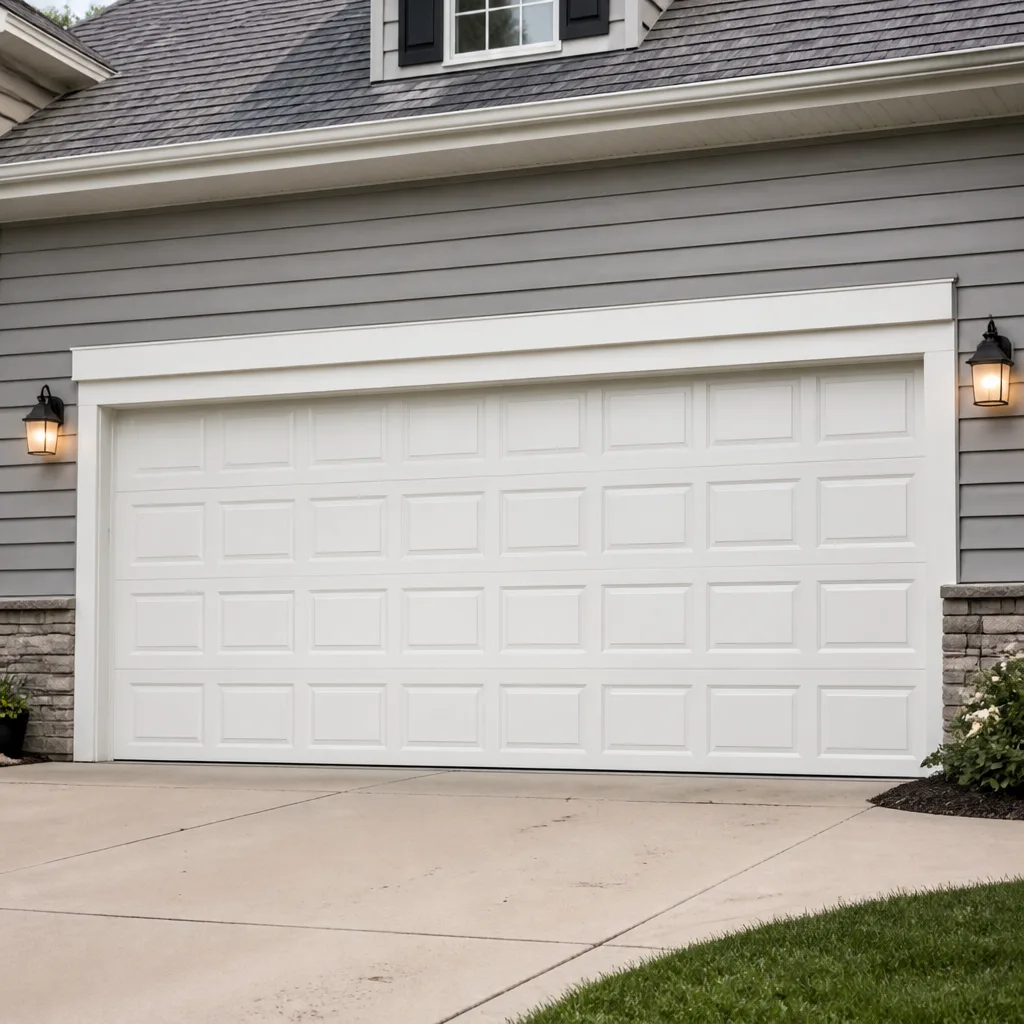
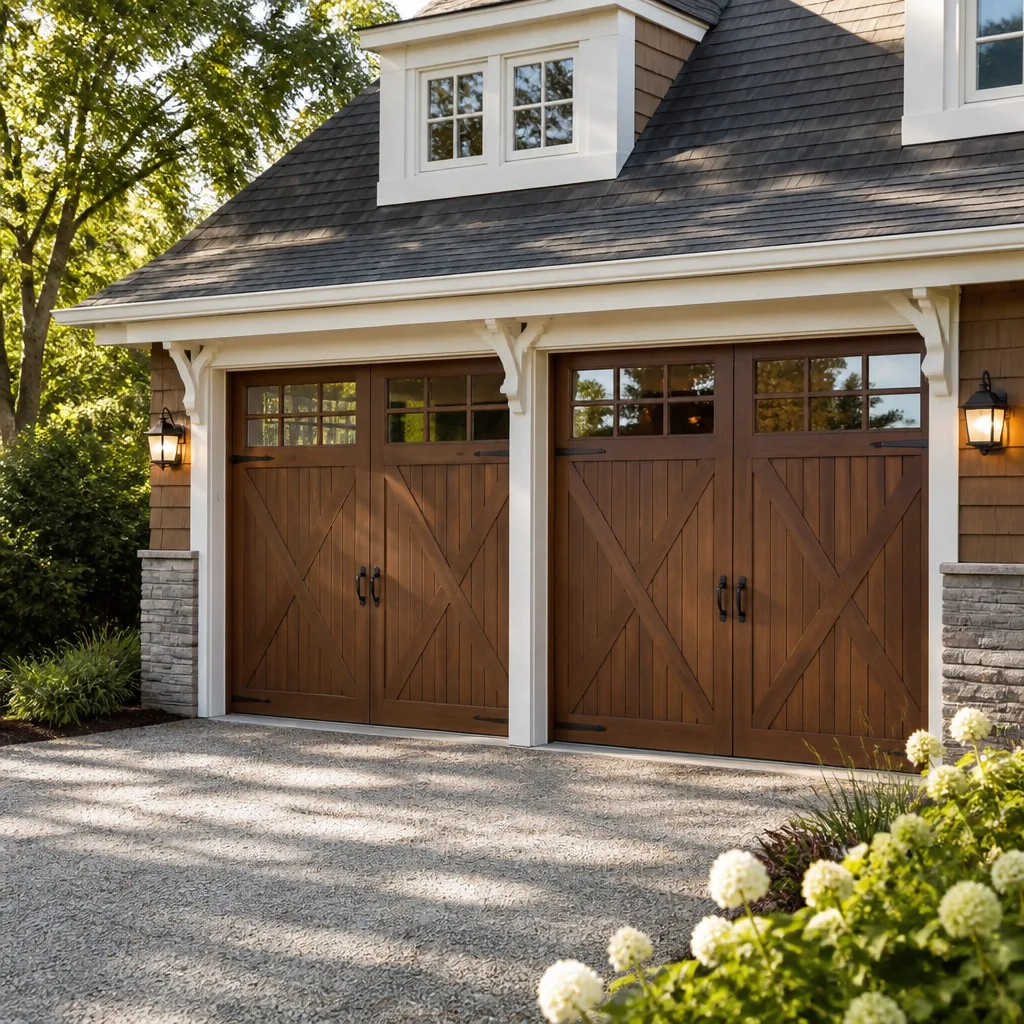
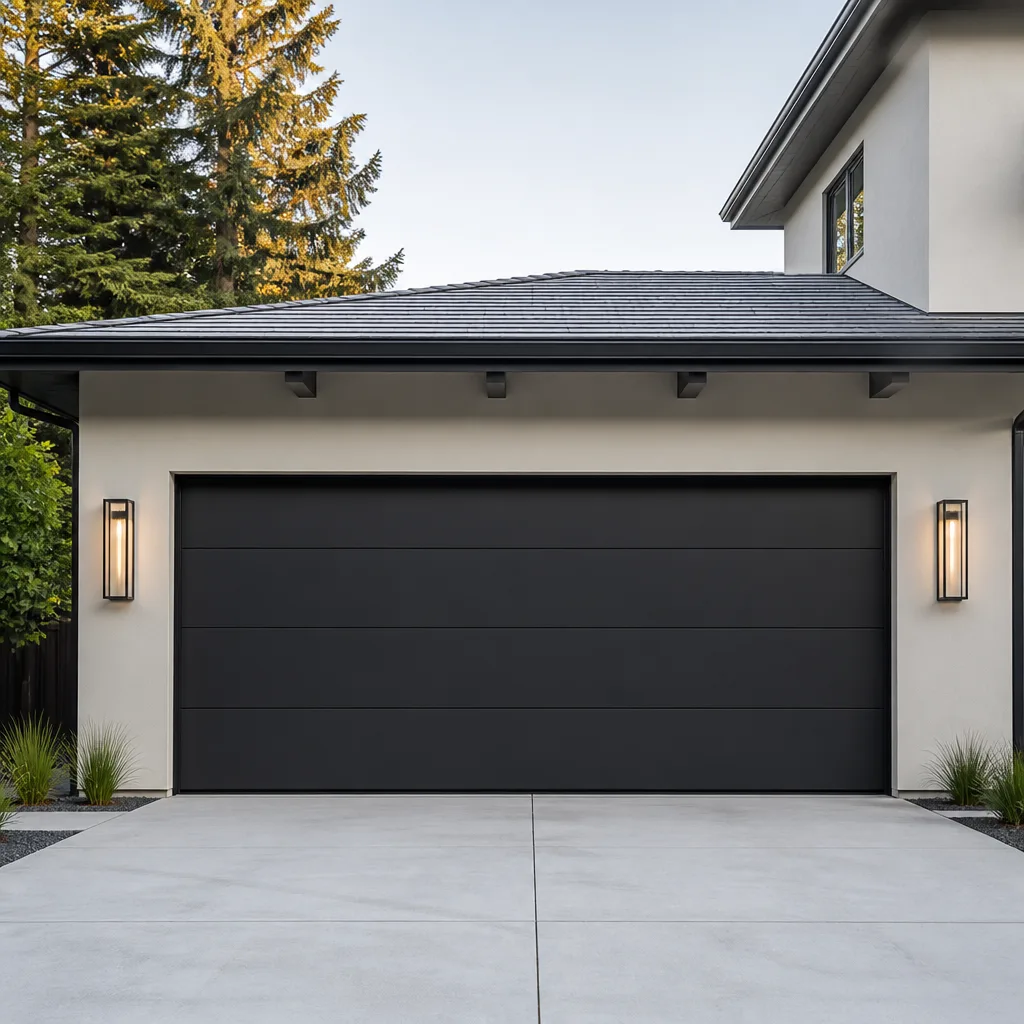
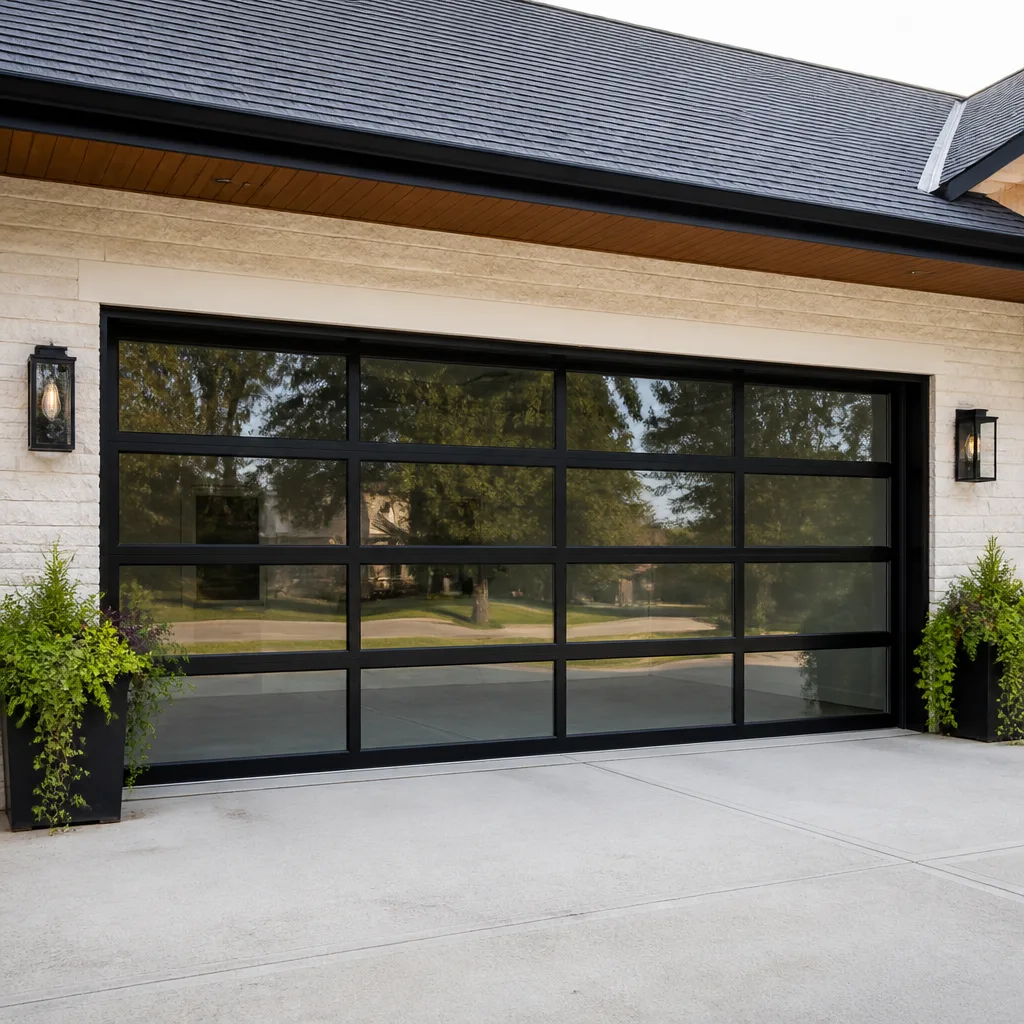
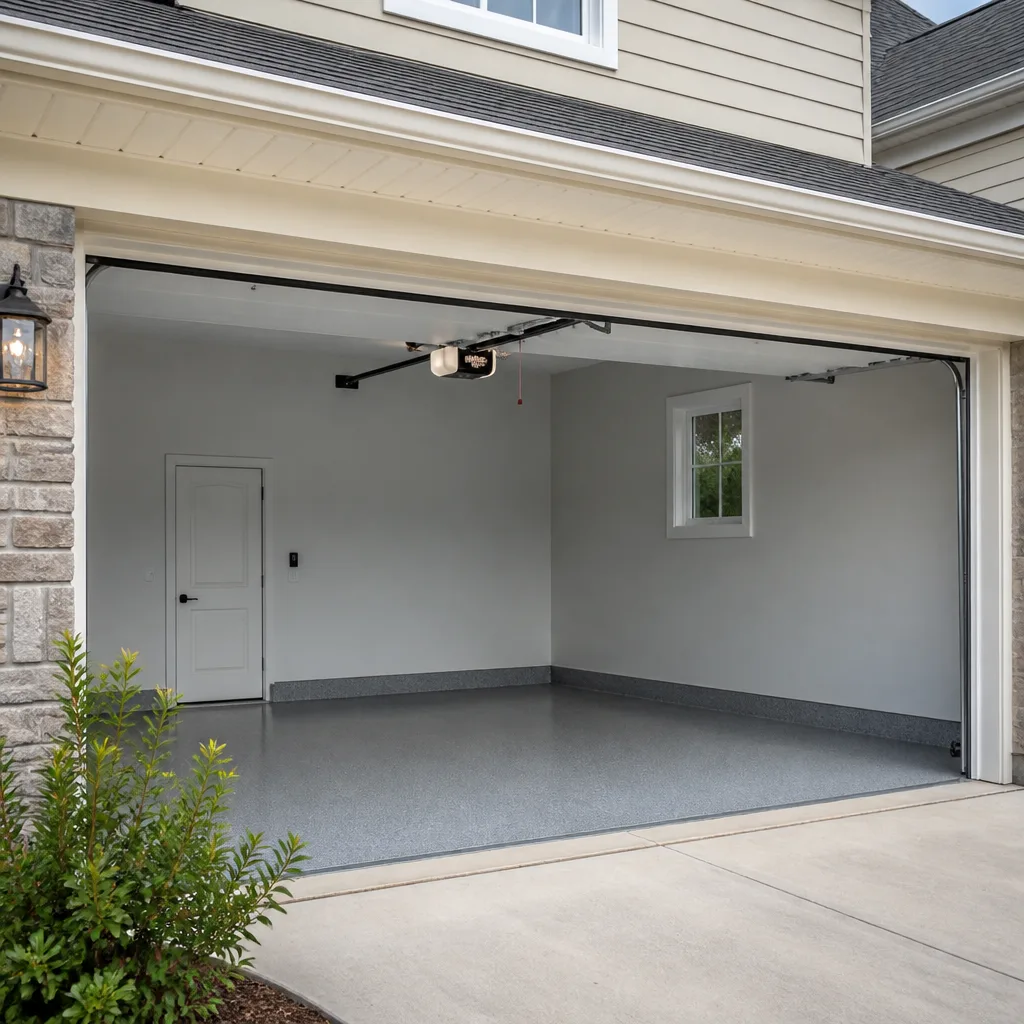
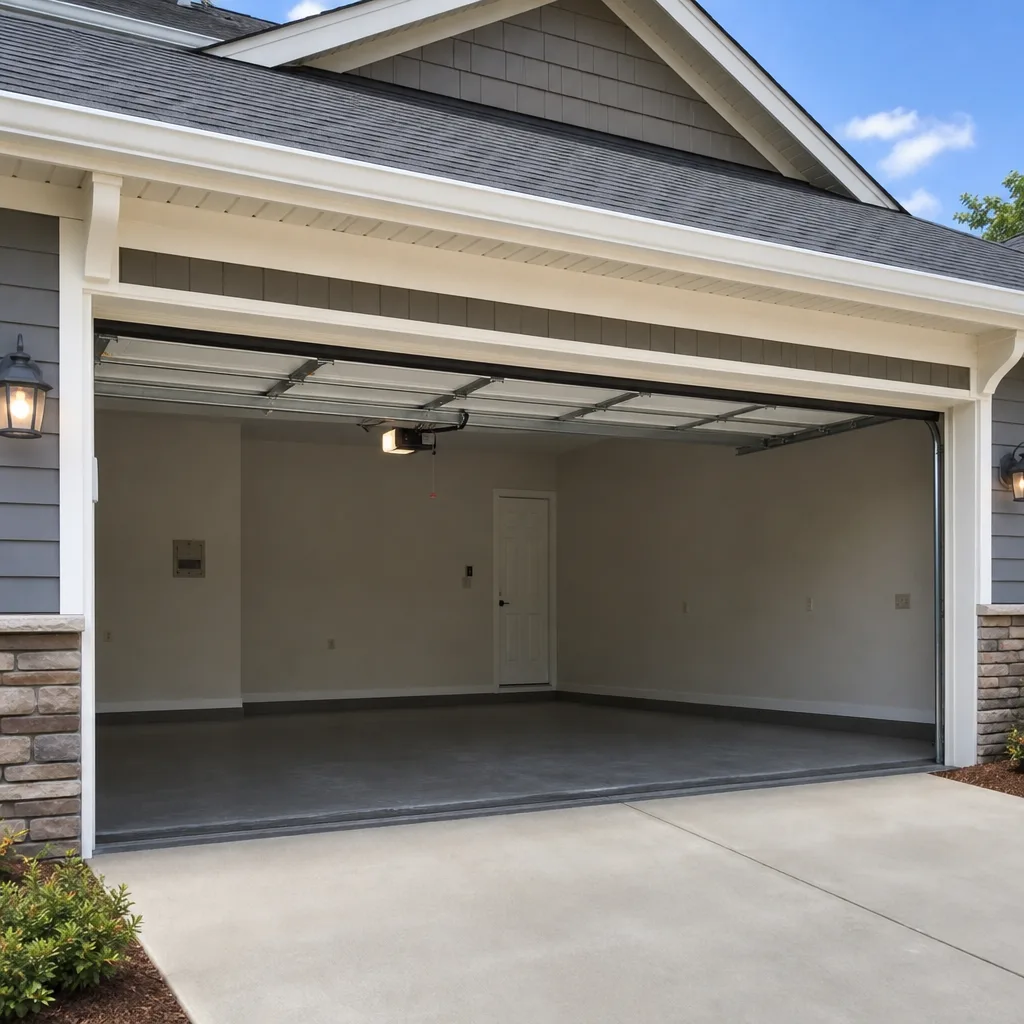
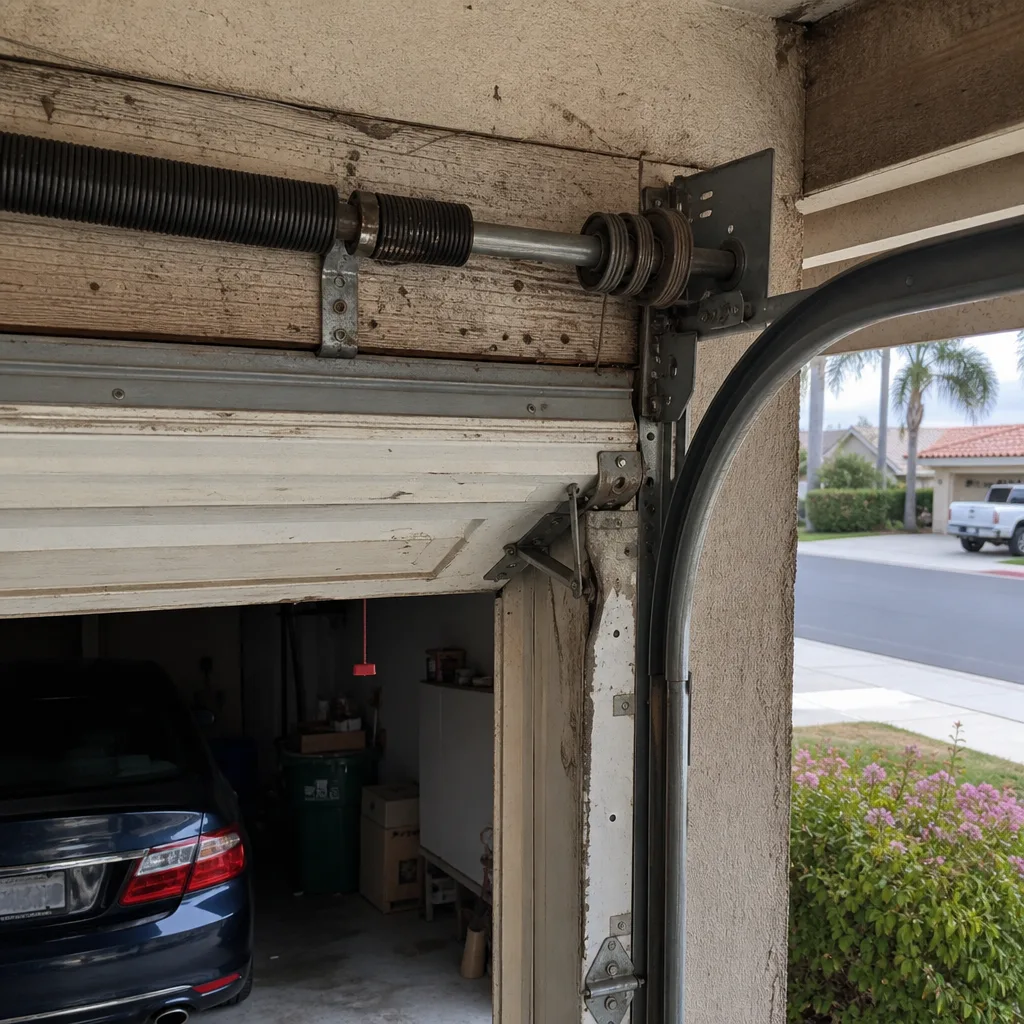 Before
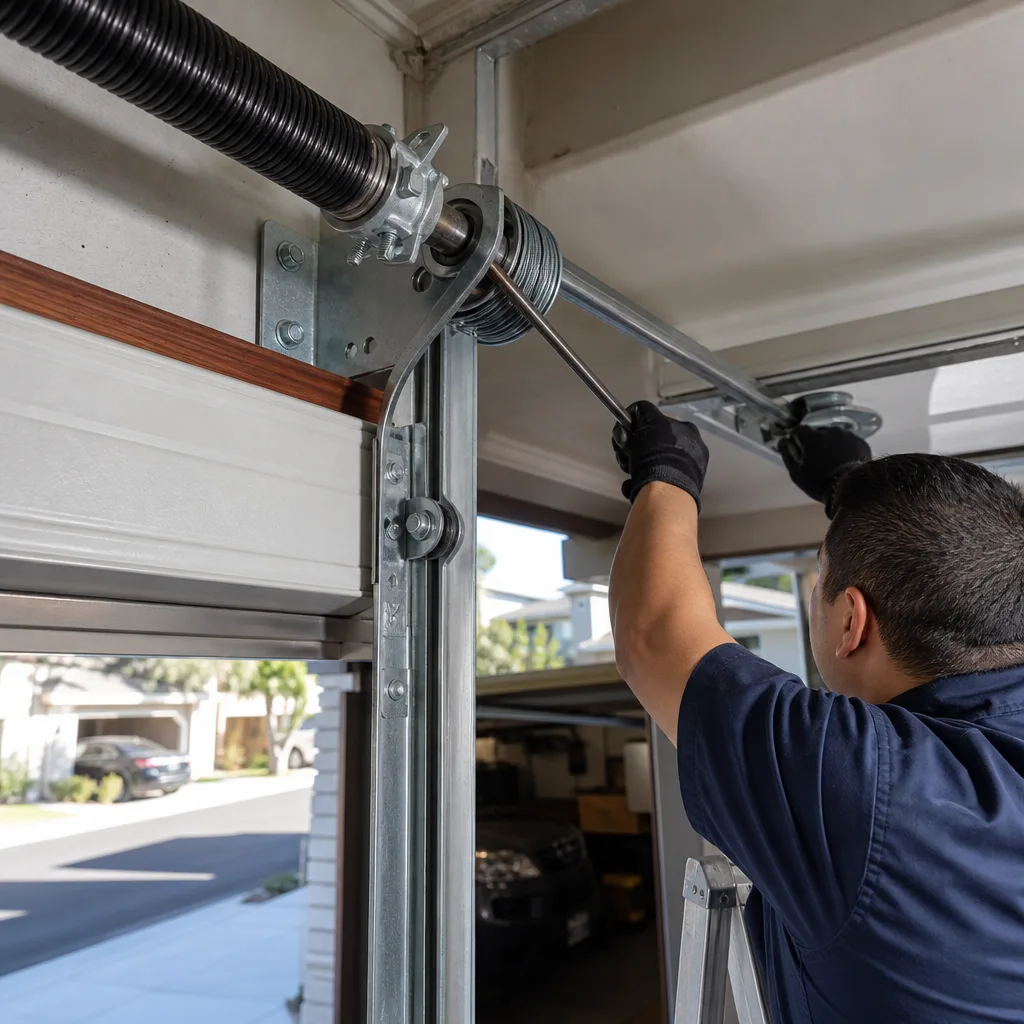 After
After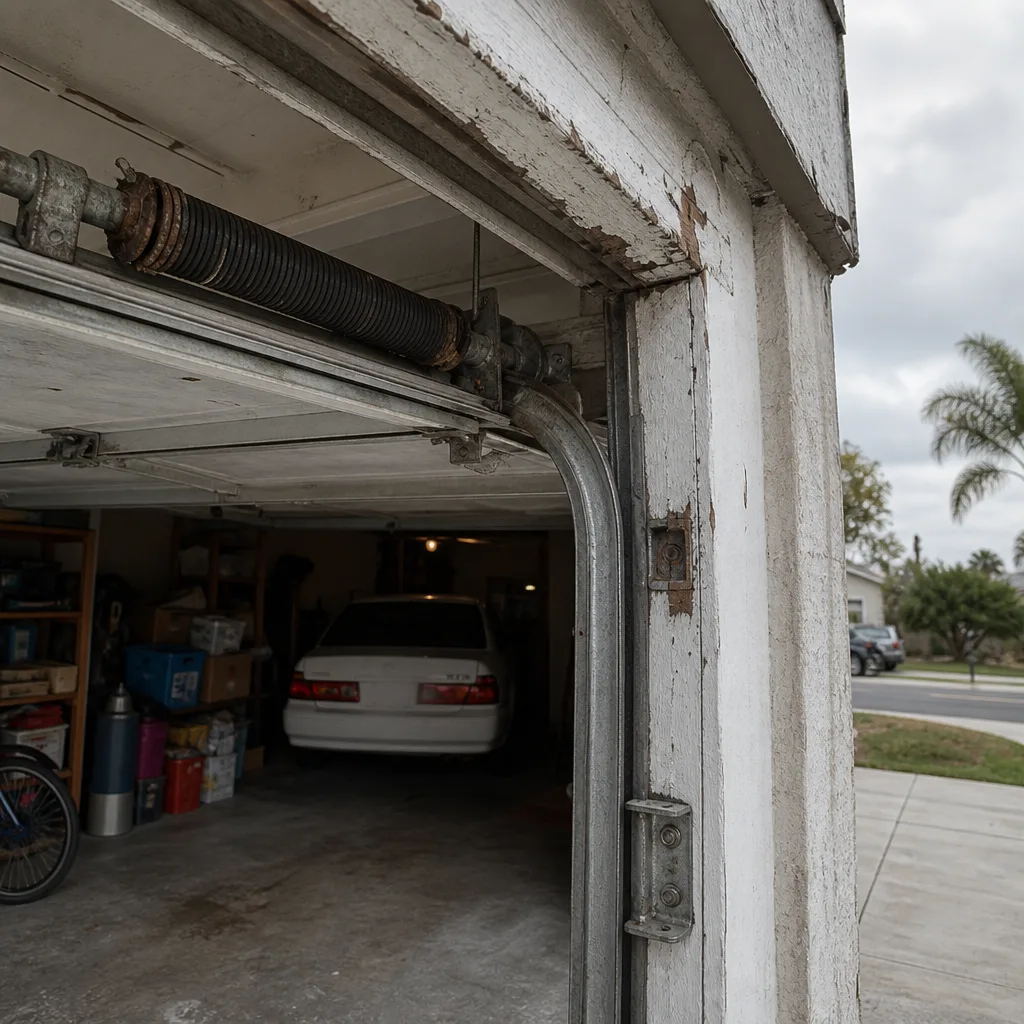 Before
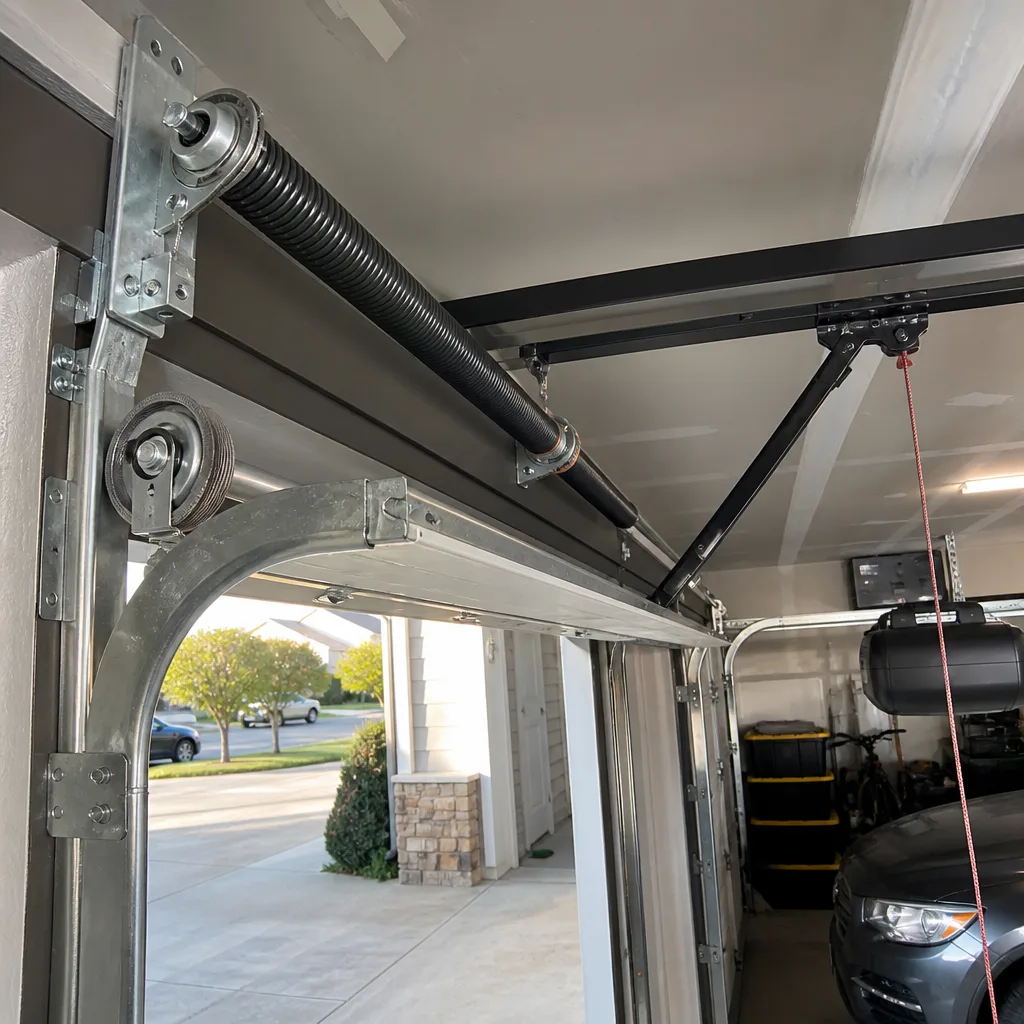 After
After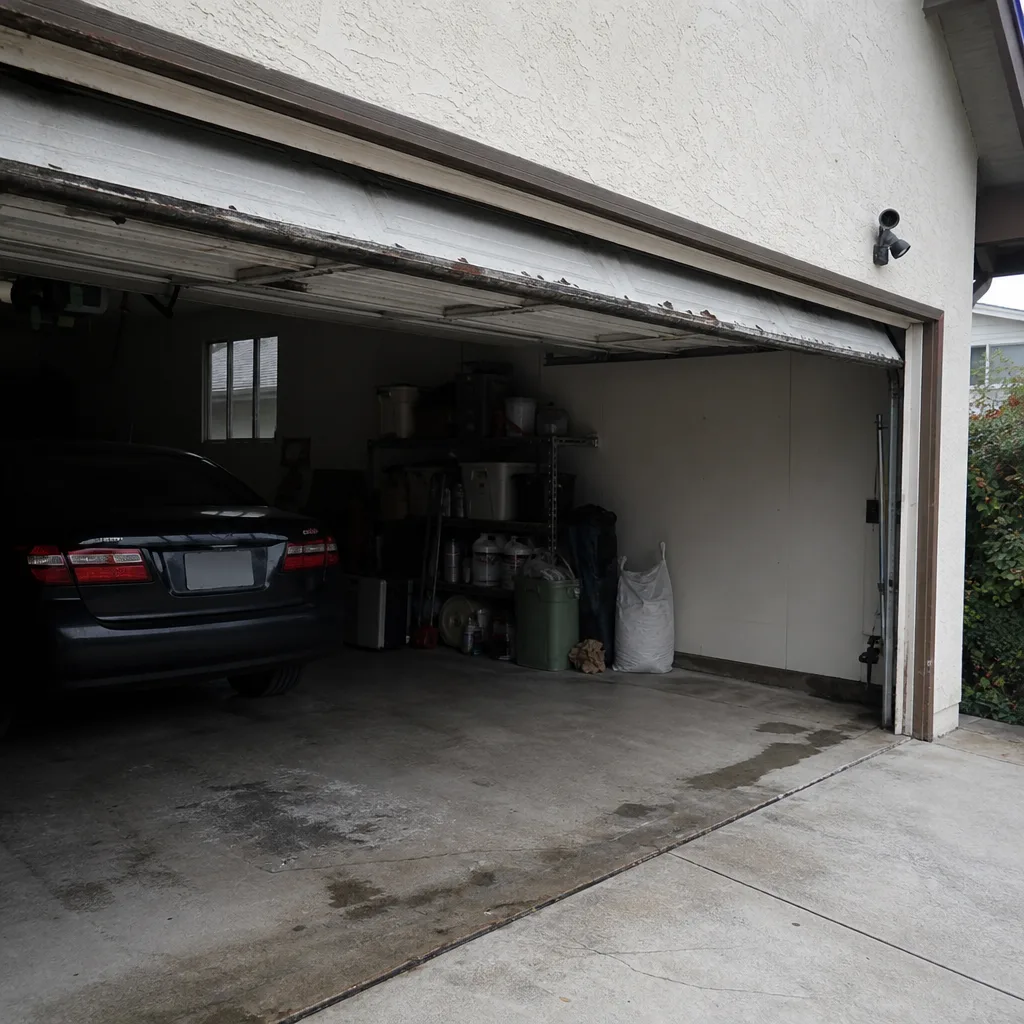 Before
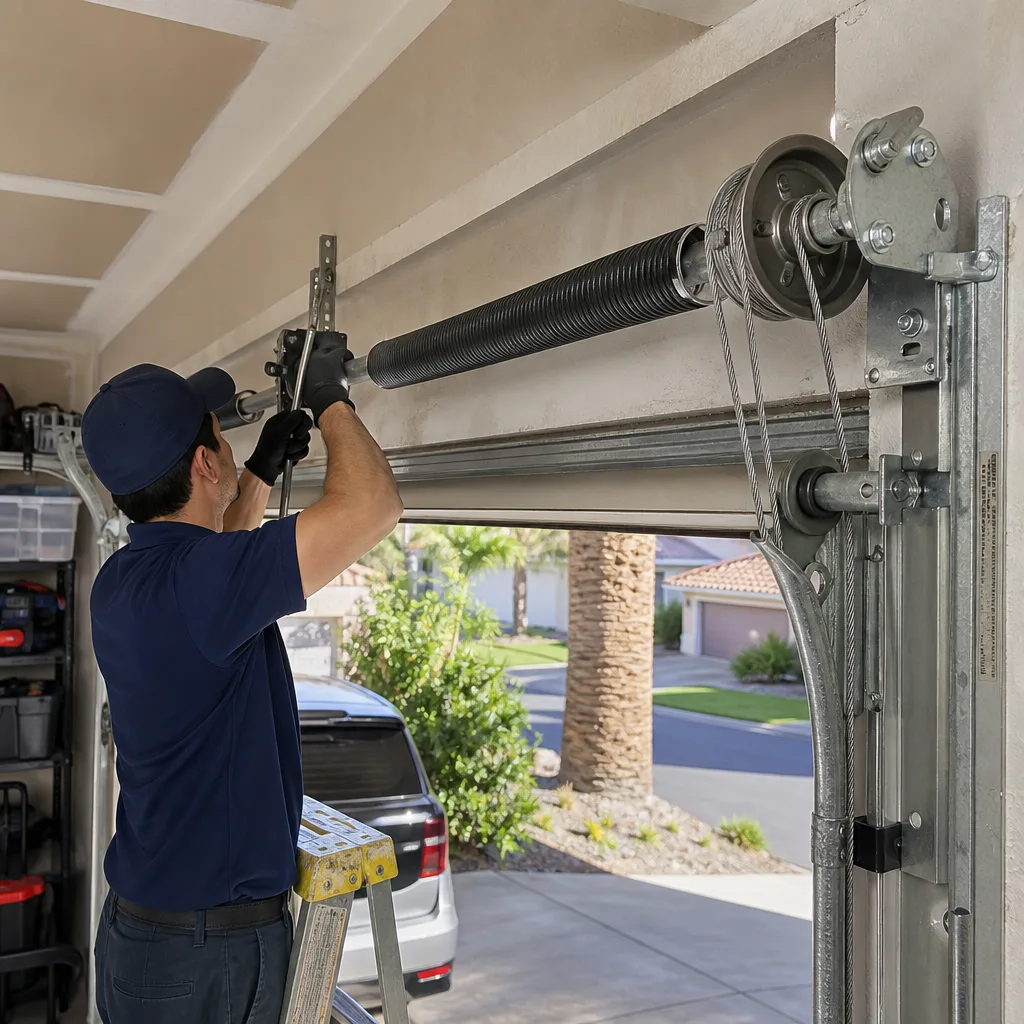 After
AfterDIY vs Professional Garage Door: The Carlsbad Homeowner’s Decision Guide
A garage door torsion spring stores enough energy to break a wrist or worse when it releases. That is not a liability disclaimer - it is the mechanical reason why every California OSHA fatality record in the residential garage door category involves spring work, not panel or opener swaps. In Carlsbad, where coastal humidity corrodes hardware faster than inland markets and many homes in neighborhoods like La Costa and Bressi Ranch still run original doors from the 1990s build boom, the question of what to fix yourself and what to leave alone comes up constantly. This guide draws the legal, safety, and financial lines clearly so you can decide on facts rather than YouTube confidence, and you can explore more guides & resources on our blog.
Quick Answer
Most Carlsbad homeowners can safely handle lubrication, sensor cleaning, remote pairing, and basic opener adjustments themselves. Spring replacement, cable work, full door hanging, and any electrical circuit modifications require a professional under California code and manufacturer warranty terms. The dividing line is not skill - it is stored mechanical energy, electrical permitting, and warranty preservation.
Table of Contents
- What Is Actually DIY-Safe
- What Never to Touch Yourself
- California Electrical Code and Opener Work
- How DIY Voids Your Warranty
- The Real Cost Math: DIY vs. Pro
- The One DIY Fix Worth Trying First
- Carlsbad-Specific Factors
- Tools and Time: What DIY Really Requires
What Is Actually DIY-Safe
There is a short list of garage door tasks that carry no meaningful injury risk, require no permit, and will not void a warranty. We have seen every variation of these over 42 years, and they are genuinely within reach of any homeowner with a ladder, a rag, and twenty minutes. For a complete rundown, see our Garage Door Repair Maintenance Checklist for Carlsbad Homeowners.
Safe Task 1: Visual Inspection
Once a month, run the door through a complete cycle and watch. Look for frayed cables, rust spots on the bottom section, loose roller brackets, and whether the door sits level in the opening. In Carlsbad’s coastal climate, check the bottom seal specifically - salt air hardens rubber faster than heat does, and a cracked seal lets moisture into the panel core. Catching this early prevents the delamination that ruins a Wayne Dalton or Clopay steel door from the inside out.
Safe Task 2: Lubrication
Use a silicone-based spray on the rollers, hinges, and bearing plates. Do not use WD-40 - it is a solvent, not a lubricant, and it attracts grit. Hit the torsion spring itself lightly; a thin coat prevents the surface rust that weakens steel over time. This takes ten minutes and extends component life measurably.
Safe Task 3: Photo-Eye Cleaning and Alignment
The safety sensors sit four to six inches off the floor on either side of the track. Wipe the lenses with a soft cloth, check that both LED indicators glow steady, and verify that nothing blocks the beam. If one sensor blinks, loosen its wing nut, point it directly at its partner, and retighten. Roughly 15% of “my door won’t close” calls we field in Carlsbad resolve with this alone.
Safe Task 4: Remote and Keypad Reprogramming
Every opener manufacturer publishes the button-sequence for adding or clearing remotes. For LiftMaster and Chamberlain units, this means pressing the Learn button until the LED blinks, then pressing the remote button within 30 seconds. No tools, no risk, and it saves a service call when a remote simply loses pairing after a power flicker.
Safe Task 5: Weatherstripping Replacement
The vinyl or rubber seal along the bottom and the stop molding on the sides slides out of its retainer. Buy matching profile by the foot, cut to length with a utility knife, and press in. This is pure maintenance - no mechanical load, no electrical connection.
These five tasks share a common trait: none involves components under tension, none connects to household wiring, and none requires a tool more specialized than a screwdriver. If a task does not meet all three criteria, read the next section carefully.
What Never to Touch Yourself
The garage door industry tracks injuries by component, and the pattern is stark. Torsion springs account for the majority of emergency room visits. Cables under tension cause lacerations and finger amputations. Full door panels, when improperly supported during removal, crush hands and feet. Here is why each demands professional handling.
Torsion Springs
A standard residential torsion spring is wound to between 10,000 and 15,000 inch-pounds of torque. That is the rotational equivalent of holding a compact car suspended. Winding bars must be inserted into the cone while tension is present, and the bars must be the correct diameter - not screwdriver substitutes, not adjustable wrenches. We have replaced springs in Carlsbad homes where the previous homeowner’s attempt bent the shaft, damaged the bearing plates, and doubled the eventual repair cost. Worse, we have seen the aftermath of releases that struck faces and chests.
California does not license garage door technicians at the state level, but OSHA records for Region 9 (which includes San Diego County) show that every residential garage door fatality since 2010 involved an untrained individual performing spring work. The mechanical reality is simple: the spring is not dangerous because you might make a mistake. It is dangerous because the margin for error is zero.
Extension Springs and Cables
Extension springs run parallel to the horizontal tracks and stretch as the door closes. They are under slightly less peak tension than torsion springs but are more exposed and more prone to sudden failure from corrosion. In Carlsbad, where morning marine layer moisture lingers in unventilated garages, we see extension springs rust through faster than inland counterparts. The safety cable that contains a broken spring is itself under load and must be properly routed through the spring coils. Incorrect installation means the next failure launches the spring across the garage.
Cable Reattachment or Replacement
Lift cables wrap around a drum at the end of the torsion shaft and attach to the bottom bracket. When a cable slips off the drum, the door hangs unevenly and the remaining cable carries double load. Attempting to reseat the cable without first securing the door and releasing tension risks a free-falling panel. The bottom bracket is also the anchor point for the spring’s lifting force - it is not a simple bolt-on component.
Full Door Hanging
A 16-foot wide steel door weighs between 150 and 250 pounds depending on gauge and insulation. Even with helpers, the panel must be supported at the correct height while tracks are aligned to within 1/8 inch over the full vertical and horizontal runs. Misalignment causes rollers to bind, cables to walk off drums, and openers to strain prematurely. In our experience, DIY door installations in Carlsbad’s hillside neighborhoods - where garage openings are often non-standard sizes from custom builds - have a 40% callback rate for track adjustment within the first year.
Bottom Bracket Hardware
The brackets at the lower corners of the door connect the lift cables to the panel structure. They are under constant spring tension whenever the door is closed. Never loosen or remove these brackets without first releasing spring tension with proper winding bars. This is the most common point of injury for homeowners who have watched a spring replacement video and believe they understand the sequence.
California Electrical Code and Opener Work
This is the boundary most homeowners misunderstand. California’s Electrical Code, based on the NEC with state amendments, draws a clear line between homeowner-permitted work and licensed-electrician work. The distinction matters for insurance claims, home sales, and liability.
What a Homeowner Can Legally Do
Replacing an existing opener with a new unit that plugs into an existing receptacle is generally permissible. The homeowner is not modifying the branch circuit, not extending wiring, and not altering the panel. The work is classified as appliance replacement, not electrical installation.
What Requires a Licensed Electrician and Permit
Any of the following triggers permit and licensed work requirements under California code:
- Installing a new hardwired opener where none existed before
- Adding a dedicated 120V circuit from the electrical panel to the garage
- Upgrading from a standard receptacle to a 240V outlet for a high-lift or commercial-duty opener
- Modifying existing wiring to accommodate a wall-mounted jackshaft opener (LiftMaster 8500 series, for example) that requires both power and low-voltage control runs
- Any work in a garage that requires GFCI protection upgrade to meet current code cycle requirements
Carlsbad falls under the jurisdiction of the City of Carlsbad Building Division for permit enforcement, and San Diego County’s electrical inspection regime applies to unincorporated areas nearby. A homeowner who performs permitted work without a license faces a stop-work order, fines, and - critically - an insurance denial if a fire or injury later occurs. For details on when permits are required, see our guide to Garage Door Permits, Codes & Inspections in CA: What You Need to Know. We have been called to jobs in Bressi Ranch and Aviara where a DIY opener installation created a ground fault that tripped AFCIs throughout the house; the homeowner’s insurer declined coverage for the subsequent electrical damage because the work was unpermitted.
The Practical Reality
Most modern openers, including LiftMaster belt-drive units and Craftsman chain-drive models, ship with a cord-and-plug configuration specifically to avoid hardwiring requirements. If your garage has a functioning receptacle within six feet of the opener mount location, replacement is straightforward. If you need a new circuit, call a licensed electrician or a garage door company that employs one. At Garage Door Opener in Carlsbad, we coordinate electrical work through licensed partners when a job requires it, so the permit and inspection are handled as part of the project.
How DIY Voids Your Warranty
Manufacturer warranties on garage doors and openers contain explicit installation and service requirements. Understanding these before you start a project prevents a costly surprise when a component fails prematurely.
Door Panel and Section Warranties
Clopay, Amarr, and Wayne Dalton all condition their panel warranties on “professional installation by a qualified dealer.” The language varies slightly - Clopay specifies “an authorized Clopay dealer,” Amarr uses “professional installer,” Wayne Dalton references “factory-trained technician” - but the effect is identical. A homeowner who hangs their own door and later discovers a manufacturing defect in a section has no warranty claim. The factory will request installation documentation, and a DIY receipt from a home center does not qualify.
In practical terms, this means a $1,200 door with a 20-year limited warranty becomes a zero-warranty purchase if you install it yourself. If a section delaminates in year five - not uncommon in Carlsbad’s salt-air environment - you absorb the full replacement cost.
Spring and Hardware Warranties
Spring warranties are typically 3-10 years depending on cycle rating. The warranty is void if the spring was not installed with the correct winding tension for the door weight, or if non-OEM components were mixed. We have seen homeowners install a 10,000-cycle spring on a heavy insulated door that needs 15,000 cycles; the spring fails in 18 months, and the manufacturer denies the claim because the specification was wrong at installation. A professional measures door weight, track radius, and drum size before specifying the spring - the homeowner rarely has this data.
Opener Warranties
LiftMaster, Chamberlain, Genie, and Craftsman opener warranties range from one year to lifetime on the motor, but all exclude damage from “improper installation.” Specific triggers include:
- Mounting to inadequately supported ceiling joists or header framing
- Failing to install the safety reversing system according to UL 325 standards
- Using an extension cord as permanent wiring (a fire code violation that also voids warranty)
- Adjusting force settings beyond manufacturer specification, causing rail flex or gear stripping
The force-setting point is particularly relevant. A homeowner who cranks up the opener force to compensate for a binding door - rather than fixing the binding - strips the nylon gears within months. The motor is fine, but the drive system is destroyed, and the manufacturer denies coverage because the adjustment was outside spec.
The Cost Over the Door’s Life
A professionally installed door with intact warranty coverage typically sees one or two warranty claims over 15-20 years. A DIY installation with voided coverage means every component failure is out-of-pocket. The math is not close. Our Garage Door Installation in Carlsbad service includes full warranty registration and documentation, so there is no dispute if a claim arises.
The Real Cost Math: DIY vs. Pro
Homeowners often compare the retail cost of parts to a professional flat-rate quote and conclude DIY saves money. The comparison is incomplete. Here is the actual accounting for a common scenario: replacing a damaged bottom panel on a 16-foot steel door in Carlsbad.
DIY Path
| Item | Cost |
|---|---|
| Replacement panel (retail, special order, 2-week lead time) | $280-$420 |
| Spring winding bars (2, correct diameter, not substitutes) | $35 |
| C-clamps or locking pliers for door securing | $25 |
| Panel lift handles or suction cups | $40 |
| Miscellaneous hardware (rollers, brackets if damaged) | $50 |
| Tool rental if needed (panel lift, spring winder) | $80 |
| Value of homeowner time (6-10 hours at conservative estimate) | $0-$300 |
| Total DIY outlay | $510-$950 |
Professional Path
| Item | Cost |
|---|---|
| Mainspring flat-rate panel replacement, Carlsbad market | $450-$650 |
| Includes: panel, hardware, spring tension adjustment, track alignment, safety test | - |
| Includes: 90-Day Done Right Promise, warranty registration | - |
| Homeowner time: 30 minutes for estimate approval | - |
| Total professional outlay | $450-$650 |
The ranges overlap. In many cases, the professional route costs less when tool purchases and time are honestly counted. More importantly, the professional job carries warranty coverage, correct spring tension for the modified door weight, and no injury risk. For a Garage Door Repair in Carlsbad quote that states the full price before work begins, the comparison becomes straightforward.
The math shifts further toward professional work for spring replacement. A DIY spring job requires $150-$200 in specialized tools (winding bars, vice grips, winding cone set) that see single use, plus the cost of the spring itself. Our flat-rate spring replacement in Carlsbad, including both springs, cables, and bearing plates if needed, typically falls in the $280-$450 range. The tool investment alone approaches the professional price, and the homeowner assumes all injury risk.
The One DIY Fix Worth Trying First
There is one adjustment that resolves roughly 20% of “my door is broken” calls with zero cost and minimal risk: the opener limit switch and force setting calibration. Before calling any technician, spend fifteen minutes on this sequence.
- Disconnect the opener. Pull the red release handle to put the door in manual mode. Verify the door moves smoothly by hand and is not obviously binding or off-track. If it binds, stop - the problem is mechanical, not opener-related.
- Check the down-limit switch. Run the opener with the door disconnected. The trolley should stop at a consistent point. If it tries to drive past the stop or reverses prematurely, locate the limit adjustment screws or dials on the opener housing. On LiftMaster chain-drive units, these are typically two white plastic screws on the side or back.
- Adjust in quarter-turn increments. Turn the down-limit screw clockwise to shorten travel, counterclockwise to lengthen. Test after each adjustment. Never force the motor past its stop point.
- Check the force setting. With the door reconnected to the trolley, place a 2×4 flat on the floor centered under the door path. Close the door. It should reverse on contact with the board. If it does not, reduce the down-force setting slightly and retest. This is a safety-critical adjustment - too much force risks crushing obstruction, too little causes nuisance reversal.
- Verify photo-eye function. Wave a leg through the beam during closing. The door must reverse immediately. If it does not, clean and align the sensors as described in the DIY-safe section above.
This sequence fixes doors that “won’t close all the way,” “reverses for no reason,” or “hits the floor too hard.” The root cause is often vibration loosening the limit switch setting over years of cycles. In Carlsbad’s older neighborhoods like Olde Carlsbad, where original openers from the 1980s and 1990s still run, this adjustment restores function without any parts replacement.
If the door still malfunctions after this calibration, the problem is likely mechanical - worn gears, stripped trolley, or track misalignment - and professional diagnosis is appropriate. Our technicians carry replacement gears and trolley assemblies for LiftMaster, Genie, and Craftsman units on the truck, so most opener repairs finish in one visit.
Carlsbad-Specific Factors
Local conditions affect both DIY feasibility and professional service needs. Carlsbad’s coastal climate, housing stock, and regulatory environment create specific considerations.
Marine Layer Corrosion
The Pacific marine layer reaches inland to Interstate 5 and beyond on many mornings, depositing salt moisture in garages that lack ventilation. We see accelerated corrosion on torsion springs, cables, and bottom brackets in homes west of El Camino Real, particularly in the Village and Barrio areas. DIY spring replacement in a corroded system is riskier than in a dry climate because the hardware may not release predictably. Professional technicians inspect the full system and replace corroded ancillary components, not just the failed part.
Hillside Construction and Non-Standard Openings
Carlsbad’s eastern neighborhoods - La Costa Ridge, Bressi Ranch custom sections, Calavera Hills - include many homes built into slopes with oversized or vertically oriented garage openings. Standard door sizes do not fit. DIY panel replacement becomes a custom fabrication problem requiring field measurements, track modification, and often a high-lift or vertical-lift track conversion. These are not catalog orders.
Wind Load Requirements
While Carlsbad is not a high-velocity hurricane zone, the California Building Code requires wind-load-rated doors for certain exposure conditions. A homeowner who installs a non-rated door in a non-compliant opening may face correction orders at sale or insurance renewal. Professional installers verify the rating label and permit documentation.
HOA Architectural Review
Many Carlsbad communities - Aviara, La Costa Greens, Robertson Ranch - require HOA approval for exterior door style and color changes. A DIY installation that violates HOA guidelines triggers a replacement demand at the homeowner’s expense. We handle HOA documentation as part of our installation workflow, submitting color samples and panel profiles for approval before ordering.
Tools and Time: What DIY Really Requires
Honest assessment of tool inventory and time availability prevents projects that stall halfway. Here is what each major task actually requires.
Spring Replacement
Essential tools: Two solid steel winding bars of exact diameter (typically 1/2 inch or 18mm depending on cone type), vice grips or locking pliers, adjustable wrench set, ladder rated for your weight plus tool load, safety glasses, hard hat. Time: 3-5 hours for first attempt, assuming no complications. Risk: High - see safety section above.
Panel Replacement
Essential tools: Panel lift handles or suction cups rated for door weight, C-clamps for securing door during work, socket set, drill, level, tape measure. Time: 6-10 hours including removal, disposal, and adjustment. Risk: Moderate - panel weight and alignment precision.
Opener Replacement (Plug-In)
Essential tools: Drill, ladder, level, tape measure, screwdriver set. Time: 4-6 hours including removal of old unit, assembly of new rail, and safety system testing. Risk: Low to moderate - electrical is plug-only, but rail alignment and force setting require precision.
Opener Replacement (Hardwired or New Circuit)
Essential tools: All of the above, plus licensed electrician and permit. This is not a homeowner task under California code.
The pattern is clear: the tasks with lowest risk also require the fewest specialized tools. As mechanical complexity increases, tool investment and injury risk rise together. For a homeowner who will perform garage door maintenance once in a decade, the tool cost alone often exceeds professional service.
Common Mistakes to Avoid
- Using the wrong winding bars. A screwdriver, pin punch, or adjustable wrench inserted into a winding cone will slip under load. We have seen the resulting injuries in Carlsbad emergency rooms. The bars must be solid steel, correct diameter, inserted fully.
- Ignoring the door weight when ordering springs. Springs are specified by wire gauge, coil diameter, and length - not by door brand. A spring that is close enough will overstress the opener, damage the door, and fail prematurely. We weigh every door on site before specifying springs.
- Disconnecting the opener without securing the door. The release handle frees the door from the opener, but the door is still under spring tension and will crash if not clamped to the track or supported. A falling 16-foot door destroys whatever it hits.
- Mixing old and new cable drums. Cable drums are matched to spring torque and door height. A new drum with a worn drum causes uneven lift and cable walk-off. Replace drums as a pair.
- Skipping the 2×4 force test after opener adjustment. California requires this test for every installation or repair that affects the reversing system. It takes 30 seconds and confirms the safety system actually protects against entrapment.
- Installing a non-insulated door in a west-facing garage. In Carlsbad’s inland neighborhoods like La Costa Valley, afternoon sun turns an uninsulated steel door into a radiant heater. The garage temperature can exceed 100°F, damaging stored items and forcing the home’s AC to work harder. R-value matters for comfort and energy cost.
- Calling the lowest bid without verifying license and insurance. In California, any contractor performing work over $500 must hold a C-61/D-28 (Garage Door and Automatic Gate) specialty license or a C-36 (Plumbing) for operators. Verify at cslb.ca.gov. Unlicensed operators leave you with no recourse for faulty work and potential homeowner liability for worker injuries.
When to Call a Professional
Call a professional when the task involves spring tension, cable load, electrical circuit work, full door hanging, or any component still under manufacturer warranty. Call when the door is off-track, when panels are damaged, when the opener hums but does not move, or when you have attempted the limit-switch calibration and the problem persists.
In Carlsbad, Mainspring Garage Door Co. offers free estimates - we state the full flat price before any work begins, and we carry springs, cables, openers, and hardware for all major brands on every truck. Most repairs finish in a single visit. Call (760) 852-7175 to schedule, or visit our Mainspring Garage Door Co. home page to learn more about our 90-Day Done Right Promise and standing offers.
Frequently Asked Questions
Professional torsion spring replacement in Carlsbad typically runs $280-$450 for a standard residential two-car door, including both springs, cables, and bearing plate inspection. The exact price depends on door weight, spring cycle rating, and whether the cable system shows corrosion from coastal exposure. We quote the flat price before starting, and estimates are free. Call (760) 852-7175 for a precise quote.
You can replace a plug-in opener yourself if the existing receptacle is within six feet and in good condition. Any new hardwired installation, circuit extension, or GFCI upgrade requires a licensed electrician and permit under California Electrical Code. For opener replacement that includes electrical coordination, our Garage Door Opener in Carlsbad service handles permitting through licensed partners.
Yes. All major manufacturers - Clopay, Amarr, Wayne Dalton - require professional installation for warranty coverage. A homeowner-installed spring voids the spring warranty and typically the door panel warranty as well, since the incorrect spring tension can damage the entire system. The financial exposure on a $1,500 door with 20-year coverage is substantial.
Disconnect the opener using the red release handle and try moving the door by hand. If it moves smoothly and stays in place at any height, the problem is likely the opener or its settings. If it binds, feels heavy, or crashes down, the problem is mechanical - springs, cables, or track. Try the limit-switch calibration described in this guide for opener issues; call a professional for mechanical problems.
Torsion spring replacement is the most dangerous residential garage door task. The stored energy in a wound spring can cause severe injury or death if released improperly. Every California OSHA fatality in this category involved an untrained individual performing spring work. This is not a skill-gap issue; it is a zero-margin-for-error mechanical hazard that requires specialized tools and training.
Yes, for repair and emergency calls. Our trucks carry springs, cables, openers, and hardware for all major brands, so most repairs complete in one visit. Installation and replacement work is measured, ordered, and scheduled - we provide a free measure and written price, then book the installation when materials arrive. For same-day repair, call (760) 852-7175; a live person answers 24/7.
The Bottom Line
The DIY-versus-professional decision for garage doors is not about whether you are handy. It is about whether a specific task carries injury risk, violates California code, or voids a warranty that protects thousands of dollars in component value. Lubrication, sensor cleaning, remote pairing, and opener limit adjustment are genuinely within reach and worth doing yourself. Spring work, cable service, electrical installation, and full door hanging are not. The cost math, when honestly calculated with tools and time, often favors professional service - and the warranty preservation, safety, and single-visit completion remove the uncertainty that makes homeowners hesitate. In Carlsbad’s coastal climate, where corrosion accelerates and hillside construction creates non-standard challenges, professional assessment and correct specification matter even more.
Written by Carl Dutton, Owner at Mainspring Garage Door Co., serving Carlsbad since 2016.